Pages

Monday, April 16, 2012

Backstage Hair

This week I am starting a new, exciting, SM job and so my posts will focus on Stage Management!

When working on a run crew for a show, the usual uniform is simple,

Black Pants
Black Shirt
Black Socks
Black Shoes
Black Jacket
and
Hair Back

So yes, this can get boring. I like to change how I wear my hair so I don't get bored. Here is how I did my hair last week.

Tuesday


I wish I had taken a picture when I first left the house NYC made this a bit messy. But I used the tutorial here.

Wednesday


On Wednesday I hated my hair for not working with me. 

Thursday


This hairdo was my favorite for the week. I used this tutorial here.

Friday


Again I wish I had a picture of the hair just after I did it and not at the end of the day, but hindsight is 20/20. It was basically a flipped through ponytail.

Saturday


I really liked my fishtail braid because it makes my hair look so long! 

So that was my week in hairstyles! I have quite a busy week this week because I have an overlap of shows. But I still plan on updating on Thursday! 
Until then,


Thursday, April 12, 2012

New Spring Headband!

Hi everyone! Happy Thursday!
Today's Tip is from my BF. (he is a smart guy)
You know those extra buttons and thread that come with nice clothes? Well rather than keeping it in a sewing kit to be used for another project or lost or forgotten, 

Use a safety pin and pin those extra buttons etc. into the garment bag you store them in!

I know this doesn't work for everything, but those nice things that get kept in a garment bag in the first place are the ones you want to look the sharpest anyway so those buttons are the most precious. I also thought you could even pin the button onto a hanger that is assigned to that garment. 

I didn't make a template this week but I am leading you to a very cool set of weekly meal planners. I plan out my week of food every Saturday or Sunday based on when I can cook and what I have to cook and then grocery shop accordingly. I find this saves me a lot of time and money, since I know when I am going to eat that head of lettuce and am not tempted to buy extra things at the store that are not on the list.

Free Printable Weekly Menu Planners
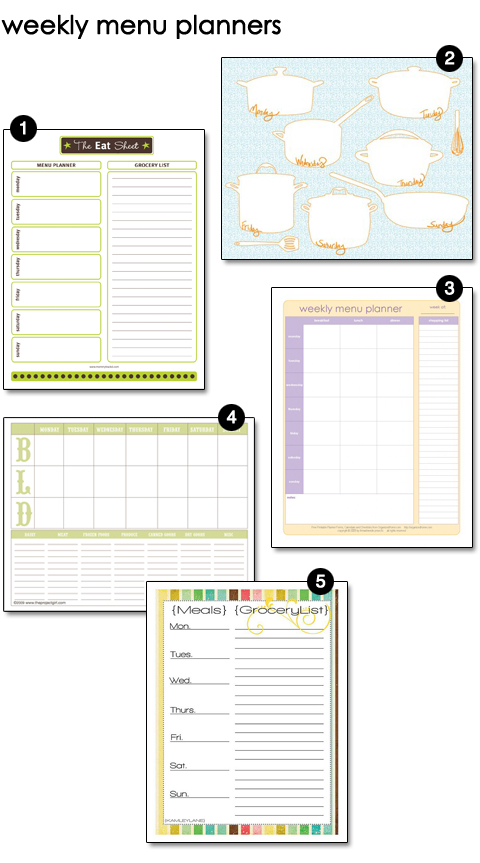
Click to access these awesome templates


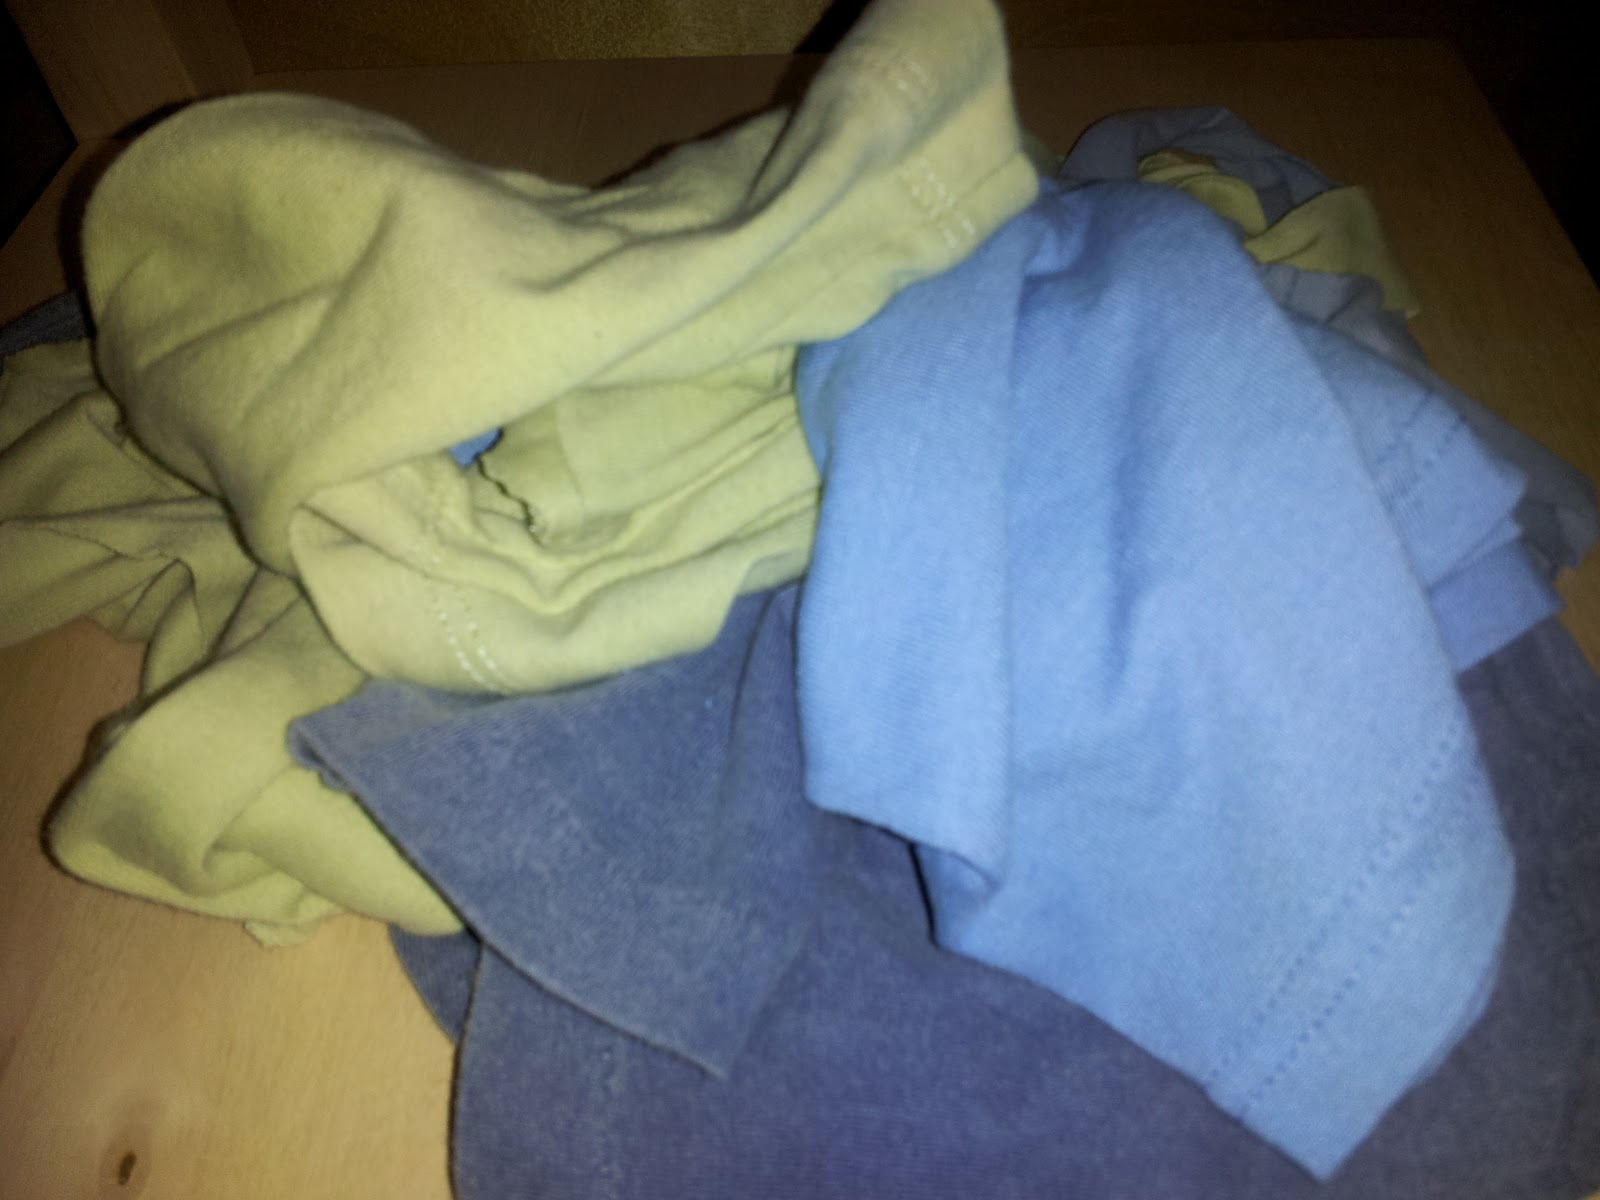
I had a bunch of scraps leftover from my rag rug I made for my room a few weeks ago. I was thinking of a creative spring way to use my scraps.
Mostly t shirt sleeves

I don't have my sewing machine in NY, so all of my sewing is by hand. It is an added challenge but I think it will make me more creative.

First I found a sleeve that fit over my head, and was a color that I wanted to be my base color. I cut about a two inch strip to be the "head band" and since I was going for a rough look, so I didn't finish the edgeand the jersey curls nicely anyway.
Extra Large sleeve cut.
 Next I cut petal shapes out of two other blue color and two leaf shapes out of my green color scraps. I just eyeballed them all and was happy with the varied shapes and sizes.
Petals and leaves
 Next I set out the petals on the headband how I wanted them and pinned them down.
Arranged petals

pinned.
 I sewed the petals by hand onto the band and sewed a button in the middle. I placed the leaves where I wanted them and back stitched them down in a darker thread for contrast
All finished

Ta-Da!

I am really pleased with how it turned out and as an added bonus it's super comfortable!

Until Monday (the day I start a big new job!)


Monday, April 9, 2012

Easter Monday

Happy Easter!

My boyfriend and I had a great Easter Sunday celebration and keeping up with European tradition, we will continue to celebrate Easter Monday! Tonight we plan on making Hot Cross Buns and dying eggs. With me doing more shows on the weekends we sometimes run out of time together. We were able to exchange Easter baskets (which turned out wonderfully!) and go to Church together.
Look how nice the Easter Basket turned out!

We forgot to take a picture at Church but we did look smashing! I worked on a Spring D.I.Y. Project and look for the tutorial on Thursday! 


Until Thursday, 


Thursday, April 5, 2012

Holy Thurday

In honor of Easter this Sunday, this T-cubed post is Easter themed!

Today my tip falls into the "surviving" and "sewing" (which is my s-word meaning crafting in general).
It is Salvage. 

I don't mean pull things out of the trash, but save look at things in a new way to save money. For instance, my boyfriend and I wanted to make Easter baskets for each other since this is our first Easter away from our  homes. We set a $20 budget and let creativity rule. Neither of us have a lot of "storage" space, (since we both are basically nomads who came to New York with 2 bags each) so I didn't want to invest in nice baskets to use year after year like my mom does. But I also didn't want to buy something cheap that we were just going to throw away. (That money could have been spent on CANDY!) So I made our Easter baskets from shopping bags! 

I made this one for my Boyfriend

You can kinda tell it's made from green grocery bags

To make this Easter Basket I used this tutorial to make the "plarn" (plastic yarn) and I used this pattern to make the basket. I used an H/8 hook and looking back I should have used a different hook so the basket could have been bigger, but since I had no idea what I wanted to put in the basket when I made it, the coffee will be the outsider. 

I filled the basket with a beer (especially good since he gave up alcohol for Lent), two plant grow kits from the dollar section of Target, Star Wars gummies that I found for a dollar at Duane Reade, Coffee that was on sale at Target and Jellybeans!


My basket is empty so far...

Here is the basket I made, the EASTER BUNNY made and had me deliver to my Boyfriend so he would not have to buy one. I used this tutorial but made it taller. 

I made it using a Whole Foods bag that had a beautiful chartreuse print on it.
See how pretty?


Today's Template is my Menu Template. I made it a few years ago for Thanksgiving and I just edit it with each big meal. I didn't update it with my meal, but when I find a recipe online that I will be using I hyperlink it in the document, so I can access it easily the day of the cooking. 
You can download my word document below.
Easter 2012 Menu


The tutorial I have lined up for you goes with the recycling theme and was created because I had a problem. Well a good problem! My boyfriend and I are having an Easter Monday dinner with another couple and I wanted to give everyone a decorated egg as an Easter present at the table. My problem is that I don't have those special egg cups. So how could I keep the egg from rolling around? Toilet paper rolls!


I started with another Whole Foods bag and cut out the side panel. 

Next I found  and marked the center of the Toilet Paper holder

See the black lines?

Then I cut the tube along the lines.


Ahhhh Two egg holders!
In the next step I should have measured, found the height and circumference and cut the paper using those dimensions, but I am lazy so I eyeballed it. 

Once I cut the strips out it was time to add a little gluestick glue


Add the paper

Glue again

repeat 3 times and 
TA-DA!

Egg holders! 

I am planning on writing each person's name on the eggs once they are dyed. Who knows what designs I will come up with next!


Until Monday, 


Monday, April 2, 2012

Motley Mondays

Hello! I am indeed still alive and a lot has changed and a little has changed at the same time. I have decided to launch what I am calling:
Since Monday is my usual day off, I will write about various ways I have been crafty, saved money and stage managed like nobody's business!

I am taking the opportunity this Monday to catch the WWW up on what I have been doing. First thing's first, I moved to NYC! The move happened in late December because I wanted to ring in 2012 in my new home.
I am currently in Brooklyn and love it. The rent is way less than Manhattan and I am actually not too far away from anything! (except if I want to get to Queens by subway...)

My biggest way I have been saving money lately is by making things I might buy in a store at home. Granola, for instance. I have made up my own recipe after test driving many others. The biggest problem I had with granola is I would always burn it in this one corner of the oven. The solution? Don't preheat the oven! I put my mixed up granola on a cookie sheet in a cold oven and then close the door and start the preheating!

I have discovered Pinterest since my last blog entry and am inspired daily by things that others pin. You can follow my pin boards here. Next week I will post pictures of my Easter creations because 1. it's still Lent and 2. I don't want someone to see the Easter Bunny surprise for them.

I finished all of my Aprons for last year! (Except Feb. see this post.)

My backstage apron!
My "Art Apron" made using freezer paper stencils


Ok so I didn't make this one but I WON it! (which I decided counted)
No pattern, just old sheets and some freehand embroidery!

My favorite Apron of the year! I guess I learned something making all these aprons!

I actually made the December apron back in 2010 and it was what started the whole project. As soon as I find it and get a picture I will post it!

Stage managing! I have actually been very fortunate to have work. I left my internship in CT went to a job in NC and within a month of being in NYC I had an ASM gig. I am proud to say that I have work officially until July currently. Let me assure my non-theater professional readers that this is good news.

Tune in Thursday for my Thursday Tips, Templates and Tutorials!